iPhone-friendly mittens
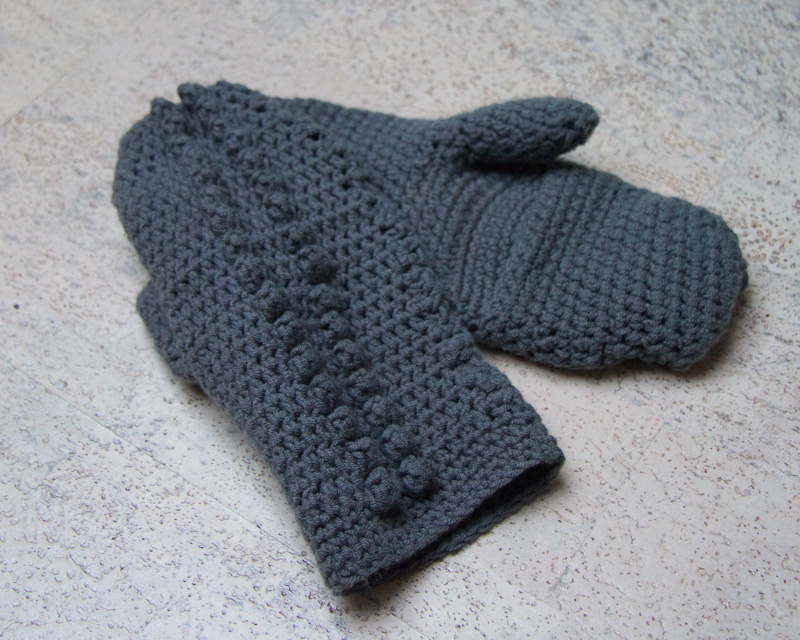
grey-mittens-2
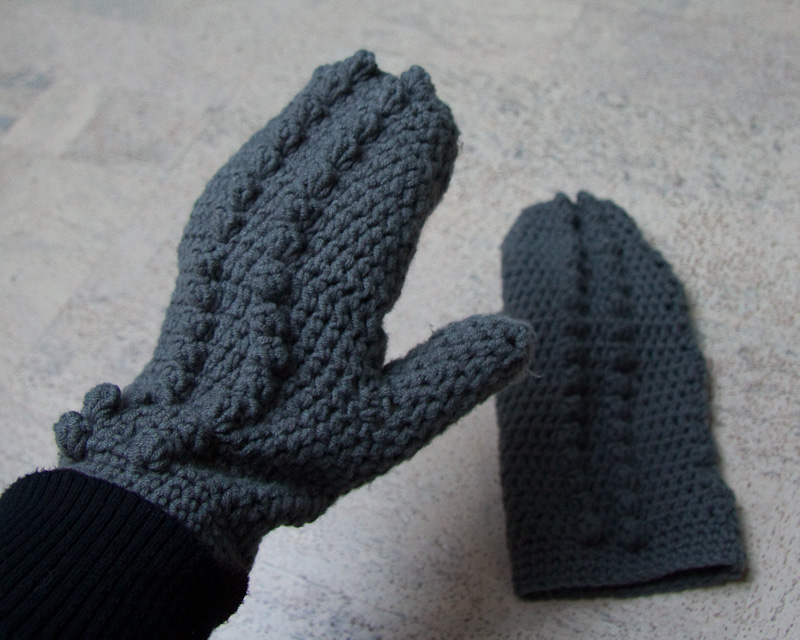
My hubby says these mittens look like crocodile hand puppets, so at least I have some way of entertaining random children on the bus if we ever get stuck in an ice storm. The pattern is based on the Cosy & Comfy Mittens in Weekend Crochet, but I made my own variation by creating a flap where the fingers go, so I can flip them up to use my phone or fumble around for keys. I've posted the pattern variation below for any iphone-using-crochet-peeps who fancy giving it a go.
Cosy & Comfy Mittens, with Flaps
This is a variation from the pattern in the book: * note all stitch references are British method as the book is British *
grey-mittens-4
Work the pattern as written up until Row 21 (you should end on a popcorn round).
Row 22: Basically you want to crochet as written the half of the mitten that sits on the back of the hand (the side with the popcorns) and make a chain along the palm. The order of these depends on whether you are working the left or right mitten: Work 17 st as written along the back/top of the hand, then ch 17 and slip stitch to attach (or do the ch first and then the normal pattern bit on the other mitten). The ch form the front of the flap (on the palm side).
Row 23+: Continue pattern as written, working the htr* stitches into the chain you made as if it were a part of the normal mitten. You will end up with a full-width hole on your palm, but otherwise the mitten will look as expected.
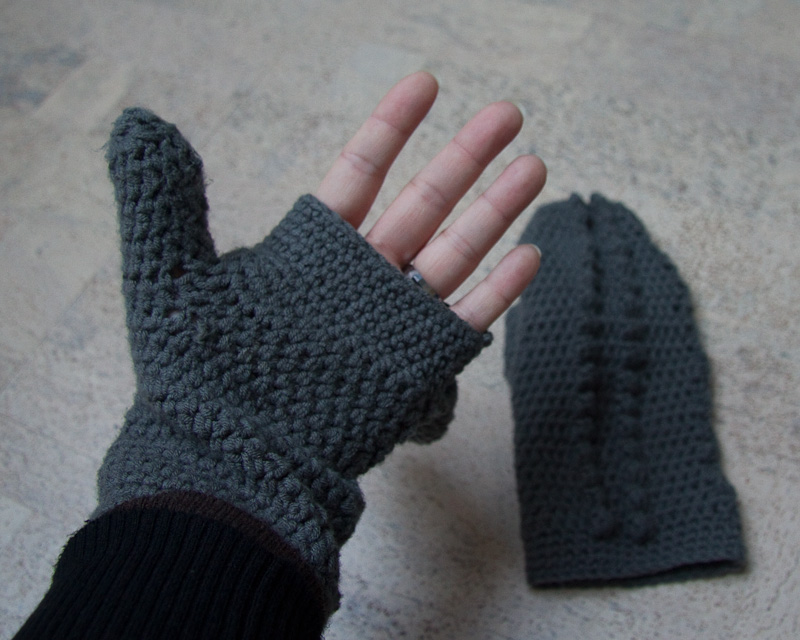
grey-mittens-1
After you finish the mitten as written in the pattern, you need to go back and cast on to crochet the fingerless portion, which will cover the hole in the palm and also add some warmth to your fingers when you have the flap open. The fingerless portion is worked in the round in double-crochet* (or single crochet for us Americans!).
Step 1: Fold open the flap, and find the row where the flap 'officially' starts (in other words, where the fold is). You will be crocheting into the back of the fabric on this row. For now, just leave it open but know where you are going.
Step 2: Join yarn at one side of the hand: pinkie-finger side on the left mitten, index-finger side on the right. This is so you can crochet clockwise along the palm edge first.
Step 3: Work dc* across the palm, and when you reach the bit where the flap starts, carefully continue your dc stitches into the back of the fabric where the fold is, making sure you follow the same row around. TIP: You may want to skip the first/last stitches on the corners of the fold, as this makes the fingerless portion fit a bit more snugly and therefore makes it easier to open and close the flap.
Step 4: Continue working in the round, making as many rows as you want/need in order to cover the hole and extend over the base of your fingers. Stop and try them on every now and then. Keep going until you are happy, but not too long or you might find it difficult to move your fingers around and use the flap. TIP: If you find that the palm portion of the mitten dips down a little lower than you'd like, you can add an extra 1/2 row to the palm, and end up on the opposite side of the palm from where you started.
That's it - enjoy your mittens and play Angry Birds in the snow without taking your gloves off!